This post may contain affiliate links, meaning that if you choose to click through and make a purchase, I will receive a small commission at no cost to you.
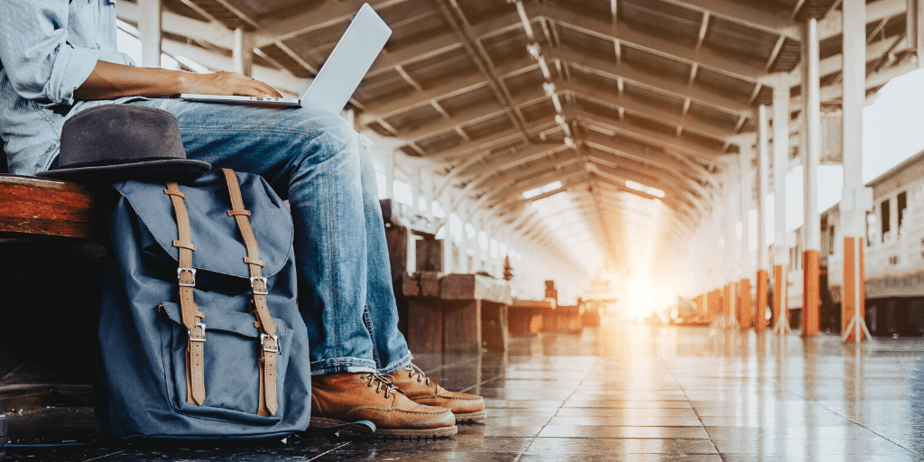
When you’re always on the go it can be challenging to actually put together posts from the places you’re exploring. Which is why I asked successful travel bloggers that I know to share their best productivity tips while they work and travel.
The key is to find the system that works best for you and stick with it. Traveling and working remotely is a dream for many, but requires discipline and a little creativity here and there.
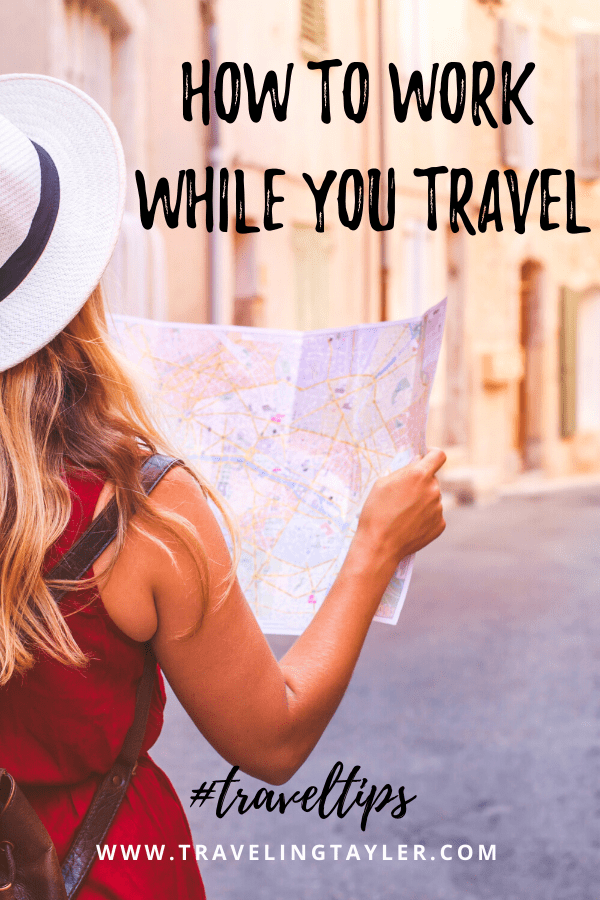
Here are 15 of the best tips on how to create while you work and travel.
Research Ahead of Time
I do extensive research keywords for where to stay, where to eat and things to do in the town or city I am visiting. This helps me to stayed focused once I am on the ground.
I use Evernote to keep me organised and travel with the list of keywords around places to visit, what images I need to take, where I need to go, what to do and where to eat. Using Evernote organises me and keeps everything I need to do in one place. No matter if I am on my phone, laptop or iMac at home I have access to my notes across all tech.
Evernote is my go-to tool. I use this great little app every day to capture ideas, store my lists, record recipes, and create reminder notes. I have separate Notebooks for different categories. One for each website, one for recipes, one for interests, etc.
Notebooks and notes can also be shared with other people for collaborations for a project. Invaluable when you are on the road and need to keep your team updated.
Annette Jones from Sanur Bali Guide
Create a Photo Itinerary Plan
Have you ever returned from a trip and discovered you forgot to take some of the photos you really wanted to include in your content?
One of my best tips for creating content while traveling is to pre-plan the essential images you want to capture before you leave. Based on the content you plan to write, identify the images required to support your content. Determine the location you can capture each image and add it to your daily itinerary planner (I use Trello).
Throughout each day check the list of photos you need to capture. At the end of the day, if there are any images you couldn’t capture, move them to another day to ensure they are not forgotten. Trello is a great tool for this as you can simply drag and drop your cards or edit your checklists very quickly.
Pre-planning your images helps ensure you capture all the photos you need for a destination. Whether it be landmarks, accommodation, food and drink, streetscapes, transport or people shots, by planning what you want to shoot, you can be secure in the knowledge you will come home with a great set of images for your content.
Rachel Rodda from Coffee Wise
Write Before You Travel
It can definitely be a struggle to create content when travelling. What works for me is creating as much of the content ahead of time as possible then I just update while I am actually travelling.
While this may sound anti-intuitive, I find this not only makes travel far less stressful but my content and trips end up far better. This is because while doing the research to write the articles, I learn so much more about the destination. I also know what areas are not well covered and what questions people may be asking during the planning process as I have the same ones.
This means when I am doing the actual travel, I know what to look out for and I am more able to notice things that have changed or that are missed in other people’s accounts. I can then update my content to ensure it really is the best on the topic out there.
Sharon Gourlay from Digital Nomad Wannabe
Get a Local Sim & Take Photos of Everything
No matter where I’m travelling, I need to stay online because I still keep a remote job. So the first thing I get at an airport after getting cash is a data sim card. That way, I can relax knowing if there’s anything I need to solve, I can attend to it on the go from my phone.
As for writing blog posts, I generally cannot write while I travel. There’s just not enough time for me, since I have to do some minimum upkeep for my job and my travel blog’s social channels. I make sure to take photos of absolutely everything. Information boards, signs… anything that can help me later put together all the information I may need.
The iPhone also automatically geo-locates my photos, so when I switch to a map view of my photo gallery, I can see the exact places where I took my photos. This saved me many times while strolling in random directions in a town and uncovering some hidden gems.
I don’t mind writing my posts after the trips. It’s enough for me to pull up my photos and I’m back in time, living it all virtually again. Occasionally, especially if I had too good of a time, I relive the memories for a bit longer than necessary and just flip through my photos instead of working on an article. That’s the only downside and one that I enjoy, so I’m not getting rid of it anytime soon. 🙂
Veronika Primm from Travel Geekery
Ready to explore your cell phone options while traveling? Check out this helpful video.
Use Instagram Stories
A great way to create content while traveling is to take plenty of Instagram stories! Not only are you updating your followers and socials by doing so, but Instagram stories are a great way to capture the day and help recall events when penning an article. Better yet, a good, detailed Instagram story can also serve as a quick intro video that can be uploaded onto your itinerary-related blog posts.
It’s probably the lazy-man in me, but I find that the best way to create content is to look for methods that will help me meet various goals with minimal effort. Then, I can leave the majority of my time for pumping out detailed articles, such as a guide for Tayrona National Park or an overview of a trek up the Himalayas!
Daisy from Beyond my Border
Use Dropbox to Streamline Assets
While I was travelling, I always struggled with managing my writing and publishing process and requests from my graphic design clients. I found I could only do the drafting of posts, and the photos bottlenecked my process because I had those stored on a hard drive at home. Clients would email me with requests, and if I didn’t have the right file, it would delay my ability to get back to them.
To streamline things, I started using Dropbox to organize all my assets so that I can access them from any device from anywhere. I was always afraid to surrender to the cloud. Now I have an organized filing system of graphic design client files, my website templates and assets and, most importantly, all my low-resolution photos used both for social media and post publishing.
The great thing about using Dropbox is it is accessible from any device. I can transfer photos on my phone to use on Instagram on the fly. IFTT also has an applet automation that automatically adds my Instagram photos into a specific folder, which I can later use for other social media posts.
Using Dropbox allows me to answer brand requests for my media kit, case study documents or other assets they may need. I can share specific files with them by sharing a link or access them easily by attaching them from Dropbox into an email.
Sharon Mendelaoui from DailyDream360.com
Google Maps
Every time when I visit new places I use google maps. It helps to find places, distances and directions. I will also download the offline google map for that area. Because sometimes it happens that we do not get internet in the tourist location.
After I finish finding places in google maps, I print them out. Because sometimes using a smartphone is difficult when you have kids and luggage. In my last visit to Purulia Ayodhya hill in West Bengal, I was able to find the bus stops on the map. Being able to see distances and all the directions I need helps me easily plan my day.
Ruma Dey Baidya from the Holiday Story
Create a Content Calendar
Speaking from my experience as a digital nomad and a blogger, having a content calendar has been very useful to me when I am traveling. When traveling, I often get lost in the sights and people and culture and lose the sense of my writing goals. I guess that can happen to many of us. That’s what traveling is about, anyways.
However, then when I would try to get back to writing, there would be a big backlog. Having a calendar makes me stick to the schedule, and finish the articles as planned, no matter what. It also makes me plan my content before traveling to someplace, so I have an idea of what I am looking for. And I don’t have to worry about missing something.
While it might seem very small and it’s totally possible to get by without a content calendar, having one makes a big difference in your productivity. There are many content calendar plugins out there, but I have always found google content calendar easy to manage and maintain. And not to forget that it’s free.
Deb Pati from The Visa Project
Use Idle Time to Write
My top tip for staying productive during travels is to use spare pockets of time that would otherwise be spent idle.
For example, if I’m going on a tour for the day then while we’re traveling there on the bus or train I use that time to plan a blog post. I take notes on my phone to start writing a rough blog post of the entry cost & insider tips.
It’s great because it means my Google Notes is full of blog drafts ready to go, making publishing content a lot quicker.
Phoebe Gill from You Green Grass Project
Google Fi is a one stop solution for data & reception from anywhere in the world

Ensure a Good Wifi Connection
Finding good WiFi in when travelling can be an absolute nightmare! Especially when traveling through Asia and Africa, the chances of you finding a good connection in provincial towns without turning on your data card are very slim – trust me, I get this problem a lot.
One of the ways that I, as a blogger, stay connected with the internet in order to work on my socials and blog, is through WiFi Map®. This amazing little app has saved me a few times from snail-paced Wi-Fi connections. With WiFi Map® you get an overview of Wi-Fi networks in the area that have been added to the database, their speed and their passwords. Using WiFi Map® is simple: you just click on the network you want to connect to and copy the password. No WiFi in your area? No problem as WIFI mapper will tell you where to find your nearest bar or restaurant with a connection.
All Wi-Fi networks and passwords were entered by other users of the app. This means that, if you are working from a local café and they have Wi-Fi, you are able to enter the location, the Wi-Fi network name and the password into the app. The whole system has been gamified to encourage people to keep growing the database.
True- you do need to pay a monthly fee for the app, but I feel that if you are in a remote location you might want to swallow the $1.99 per month or $19.99 per year (yes it is actually that cheap) in order to always know where to get free WiFi while traveling.
Lieze Neven from Glitter Rebel
Use Offline Systems
Creating content and being productive while traveling can be very challenging. Considering the busy days, without a routine plus some challenges such as limited or no access to Wi-Fi. The majority of my travels are to remote areas, such as safari in Africa, hiking in the Himalayas, living with hill tribes in Vietnam.
I often find myself going back to basics during my travels. I often don’t have access to the internet for days or even weeks. I’ve learned to adapt to a new system in order to continue creating content on the road. I go semi-old school, and the most efficient way that works for me is to use Microsoft Word to write about my experiences.
At the end of the day, normally when I am already in bed, I type the recap of my day with as much detail as I can, so I can remember it all when I am back in the connected world and I can craft my articles. Pictures and videos help me a lot too, as I go back to each of them while I am creating my content, and it helps to illustrate each moment and situation with more details.
I also use my time on the plane, when I fly home to continue to write, as the information is still vivid in my mind. This is the most effective way I’ve found and have adapted to continue creating during my travels. Nothing high-tech here for me, but still an effective way that works during my remote travels.
Paula Martinelli from Paula Pins the Planet
Work from anywhere without skipping a beat with my productivity guide!
Batch Tasks
Whether it’s finding a reliable internet connection, a place to work or the time there are a variety of challenges when it comes to staying on top of creating content for your digital product while you’re travelling. The biggest challenge for me is combining all 3 of those issues with having the right mindset and so that’s why I “batch” my tasks.
It is much more efficient to work on similar tasks if your mind is focused on that type of activity. Whether its writing blog posts, editing photos or creating pins for Pinterest, batching maximizes the efficiency of your working time to deliver, at least for me, the best results in the shortest time.
Sarah Carter from Lets Grow Cook

Pen and Paper
I believe that there are still people like me who choose a pen and paper to write about their experiences while traveling. It seems all are pumped out from my head through my pen bleeding each word, writing rapidly on the paper.
I always keep a notebook and pen on my bag no matter what weight it would be added on to my luggage. Pen and paper are always a part of my travel packing.
I jot down each travel piece knowing all of them are valuable to contribute to my content. When all are written down, I then outline it to a rough draft. I treasure this so much – the writing and the experience. Both make me stay productive on my adventure.
Elsa from Travelling Quote
Edit Photos as You Go
One thing that really helps me produce content when I return from a trip is to edit my photos while I’m still traveling, aiming to get them done that night if possible. If I can get the photos from the day, or at least the most important ones, edited, uploaded, and organized, then I can immediately start producing content when I get back home.
This is especially helpful when traveling solo since I won’t have anyone to help jog my memory if I forget later what the activity is. To keep photos organized, I upload them to Dropbox, WordPress, and Canva at one time.
Stephanie Craig from Oklahoma Wonders
Dictate Experiences
My system for creating blog posts while travelling light is to pack only a cell phone, a folding Bluetooth keyboard, and my earbuds. I use the built-in dictation function in my word processing app since I can tell my story much faster than I can type it.
This method works well since I don’t need to have a hard surface for my laptop or perch the tablet on my lap; I can dictate on a bus, in a car, or while laying on a beach. Once I’m back in my hotel and have a table to work at or during the long plane ride home, I unfold my keyboard, sync the Bluetooth to my phone, and get to work editing the article, and correcting any errors.
Mary Chong from Calculated Traveller
Which of the following 15 tips are you most excited to try?! Leave a comment below sharing which one you plan to incorporate or if you have a system of your own.
Build your email list for free with ConvertKit

Share on Pinterest
Related Remote Work & Productivity Posts
- How to Be Productive Working from a Coffee Shop
- Best Coffee Shops in Seoul for Working Remotely
- Laptop Friendly Cafes in Wellington with Free Wifi
- My Top 6 Tools to Run an Online Business + Freebie
- Best Cities for Digital Nomads
Awesome article, and thanks for allowing me to be part of it. I have learned a lot from reading other professional bloggers’ advice. I agree with Sharon about also making notes before the trip, as we do tons of research and I learn a lot prior to my trip.